Centos7搭建配置LAMP
LAMP代表的是:
- Linux 操作系统;
- Apache 网页服务器 ;
- MySQL 数据库管理系统(或者数据库服务器);
- PHP 或 Perl 或 Python 是脚本语言。
在centos7环境中 我们安装Apache HTTP服务器
- 因为httpd是Apache服务器的主程序,被设计为一个独立运行的后台进程,它会建立一个处理请求的子进程或线程的池,所以接下来安装httpd,输入如下代码:
yum –y install httpd- 完成后开启httpd服务,并且让其在重启系统时自启动 代码如下:
systemctl start httpd.servicesystemctl enable httpd.service
- 接着配置防火墙允许服务器被外部访问 如下:
firewall-cmd --permanent --add-service=http --add-port=80/tcpfirewall-cmd –reload- 重启服务:
systemctl restart httpd.service
安装MariaDB数据库 如下:
yum –y install mariadb-server mariadbsystemctl start mariadb.servicesystemctl enable mariadb.servicefirewall-cmd --add-service=mysql
安装PHP 如下:
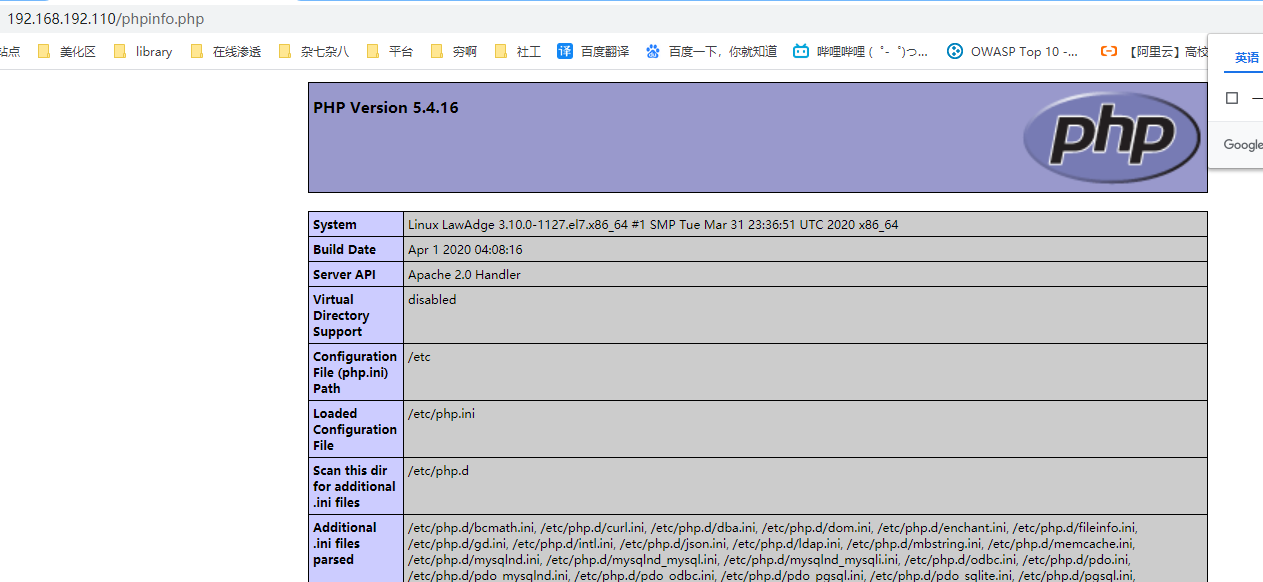
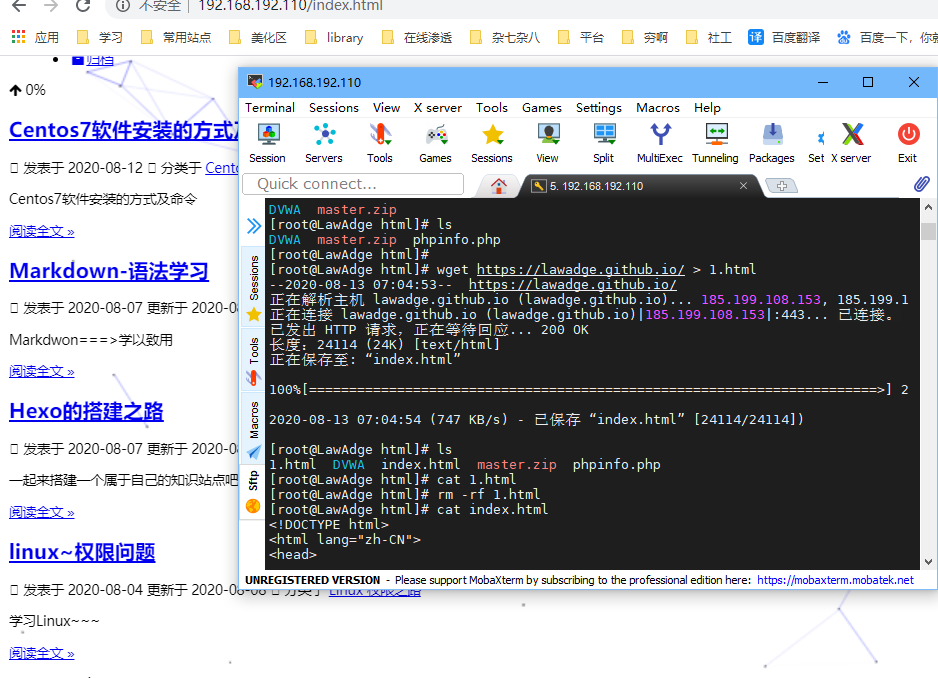
yum –y install phpsystemctl restart httpd.service为了测试PHP是否安装成功 我们在网站根目录下创建phpinfo.php 通过浏览器访问来得知结果
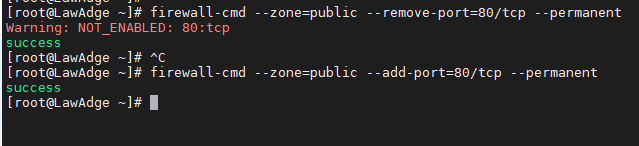
配置防火墙使其无法访问web页面以及能访问web页面
禁用icmp协议达到禁止ping主机
禁止192.168.192.112 访问到我
iptables -A INPUT -p icmp -s 192.168.192.112 -j DROP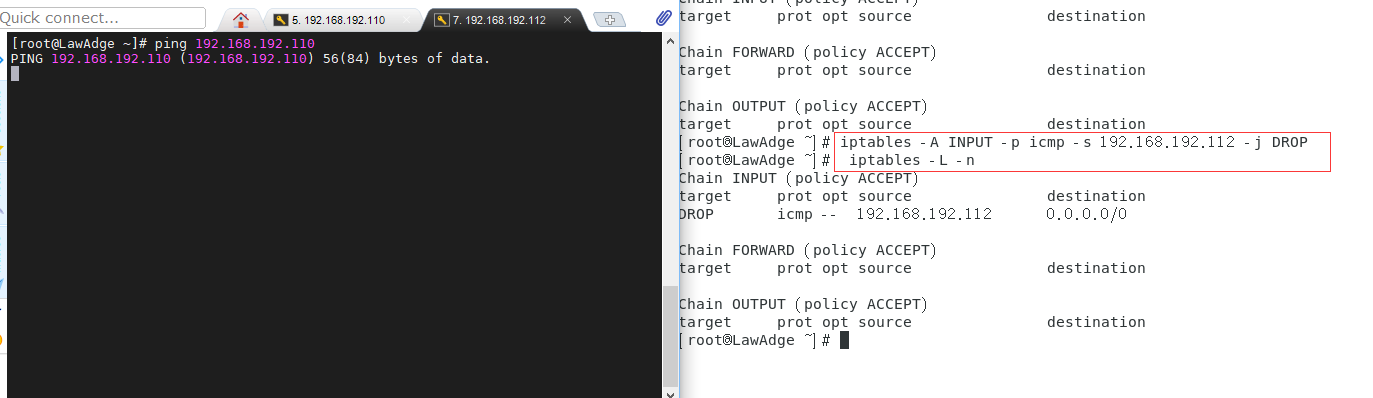
删除规则 通过
iptables -L -n --line-number可以显示规则和相对应的编号iptables -D INPUT 1删除规则编号1
配置ssh禁止root登录
修改
#PermitRootLogin yes文件,将#PermitRootLogin yes修改为PermitRootLogin no查看
more /etc/ssh/sshd_config | grep PermitRootLogin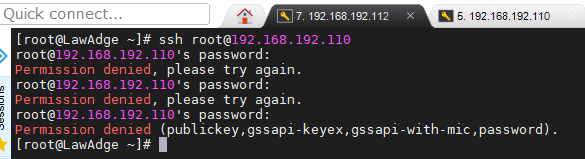
修改ssh端口为12345
防火墙放行:
firewall-cmd --zone=public --add-port=12345/tcp --permanentfirewall-cmd --reloadservice sshd restartnano /etc/sysconfigti/iptables-A INPUT -p tcp -m state --state NEW -m tcp --dport 12345 -j ACCEPTservice iptables restart

Centos7搭建LNMP
Nginx的配置
yum -y install nginxsystemctl start nginxsystemctl enable nginx
PHP组件的安装
yum -y install php-fpmyum -y install php-mysql
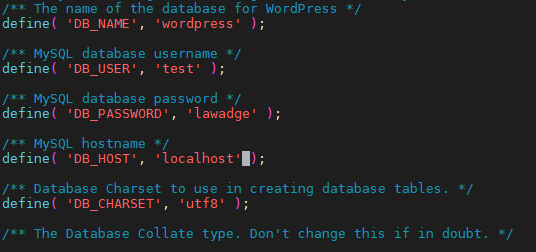
数据库的配置
yum -y install mariadb-serversystemctl start mariadbsystemctl enable mariadbmysql_secure_installationmysql -uroot -p*******create database wordpress;grant all on wordpress.* to test@'localhost' identified by 'lawadge'flush privileges;
wordpress的配置
wget https://wordpress.org/latest.tar.gz解压:
tar -zxf wordpress-5.5.tar.gz将解压后的文件放在Nginx网站根目录下
/usr/share/nginx/html/重命名wp-config-sample.php为wp-config.php 修改wp-config.php
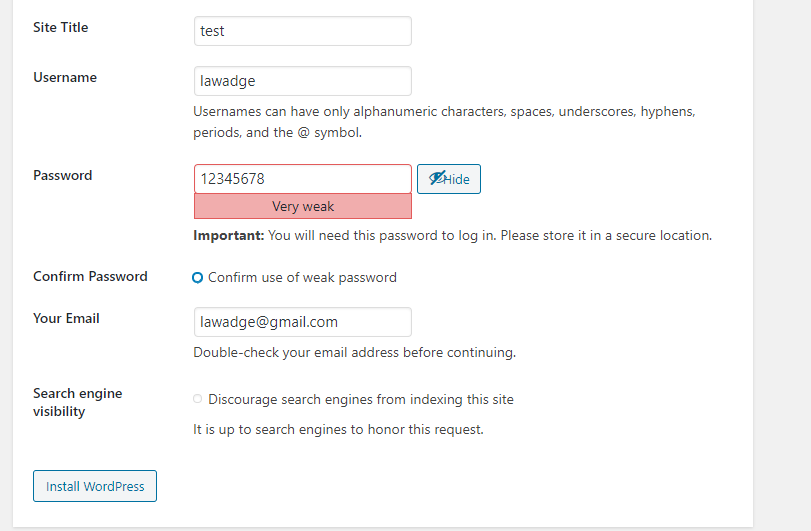
访问本地IP/wordpress 并安装
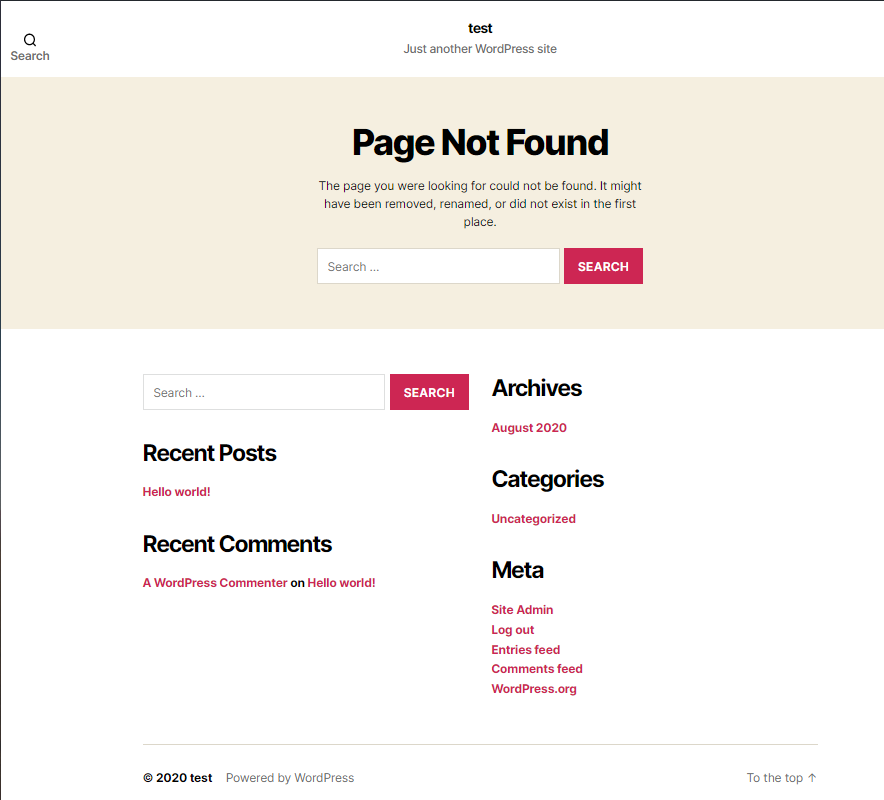
至此 wordpress就搭建成功了 ~~~